Turn (twice) and hem all four edges of your blanket - I suggest 1/2" seam allowance. Cut your canvas so it is the same height as your folded strap, and length should be 1" less than the width of the blanket. Here's an idea of what your canvas should look like.

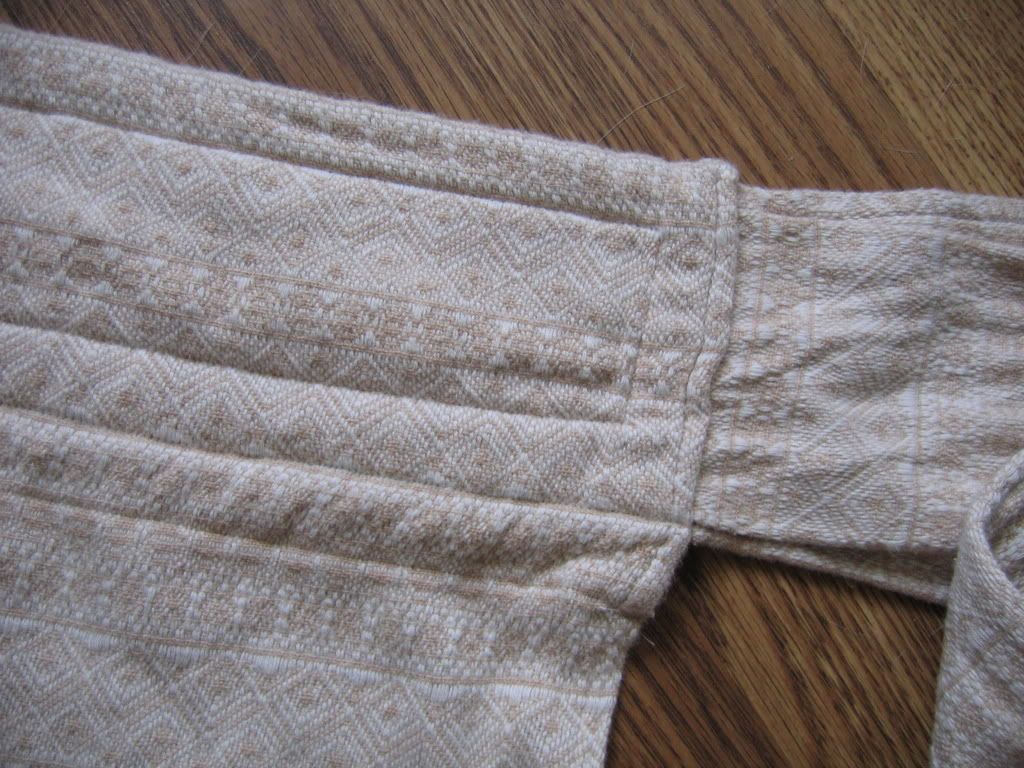
Pin the straps so that the cut ends meet in the center of the canvas. Sew the straps to the canvas and reinforce like crazy (x-boxes, triangles, whatever makes you happy). Make sure the strap is sewn down all the way to the middle of the canvas. Here's an example of how I reinforce the strap to the canvas.

Lay your blanket out, right side down. Lay the canvas at the top of the blanket (make sure it's centered!). Grab the blanket and canvas together, fold it down once so that 4-5" of the blanket is now covering the canvas. This top area is now the headrest for the pod. Pin and sew the sides and bottom of the headrest closed. After you've sewn the headrest closed, you can take out your basting stitches from the straps.
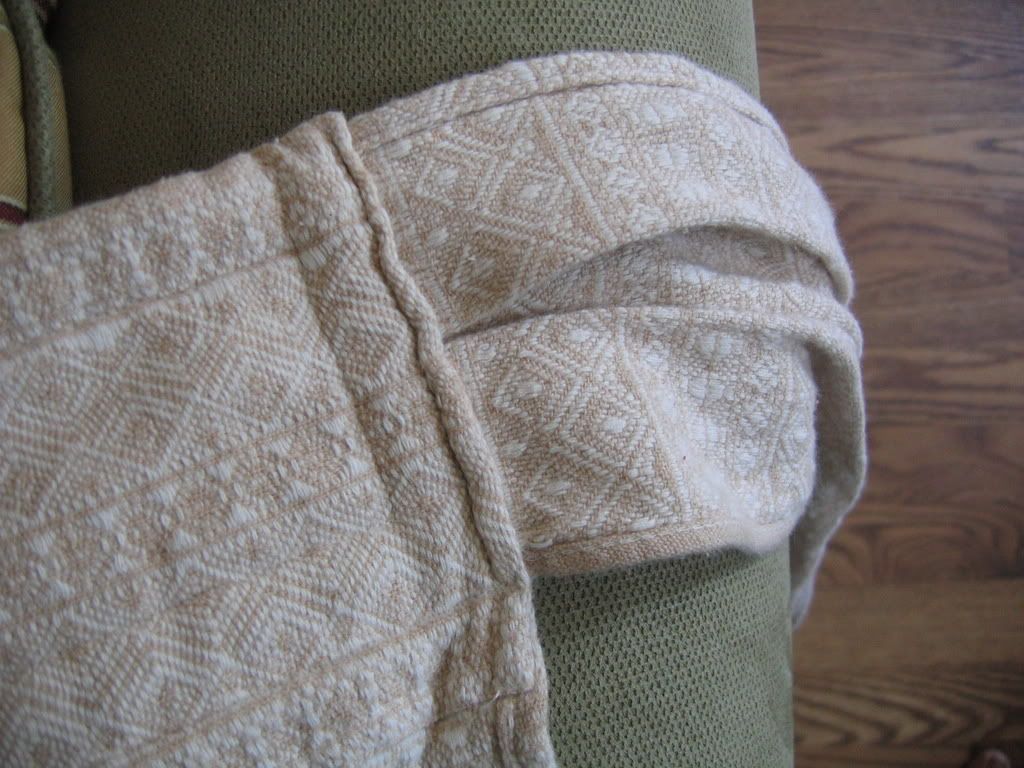
Finally, reinforce the headrest by stitching through the blanket, canvas, and straps. Here I used a long rectangle, but several straight lines of stitching would work just as well.
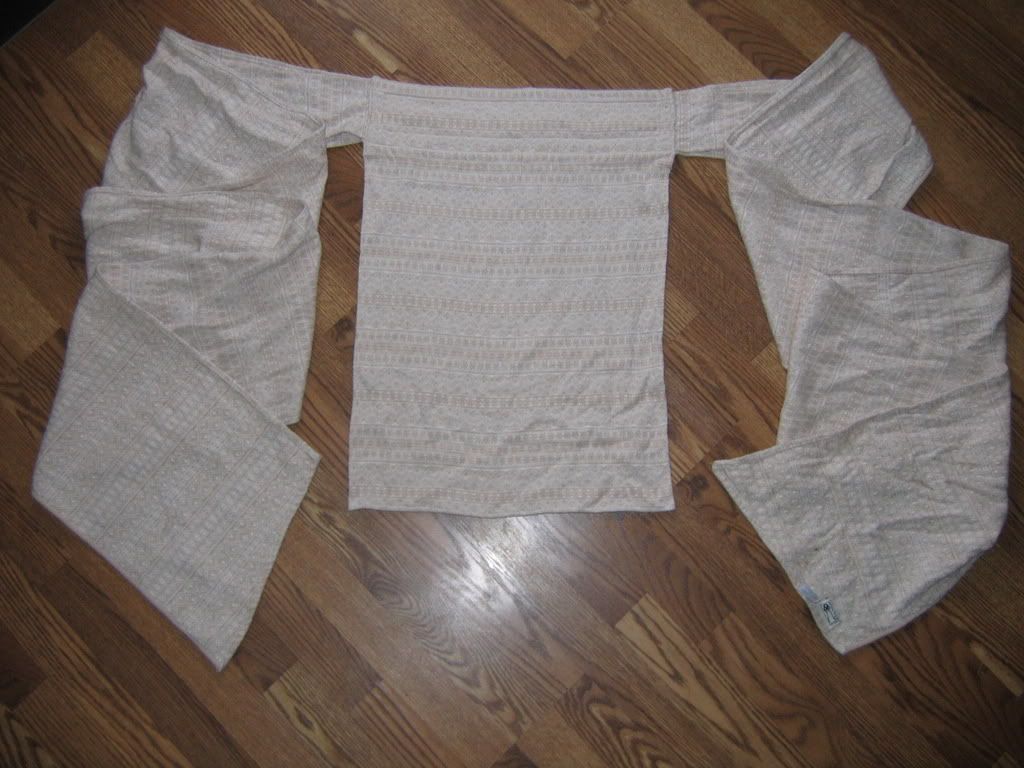
Front:
Back:
Voila! Wrap-pod, complete!
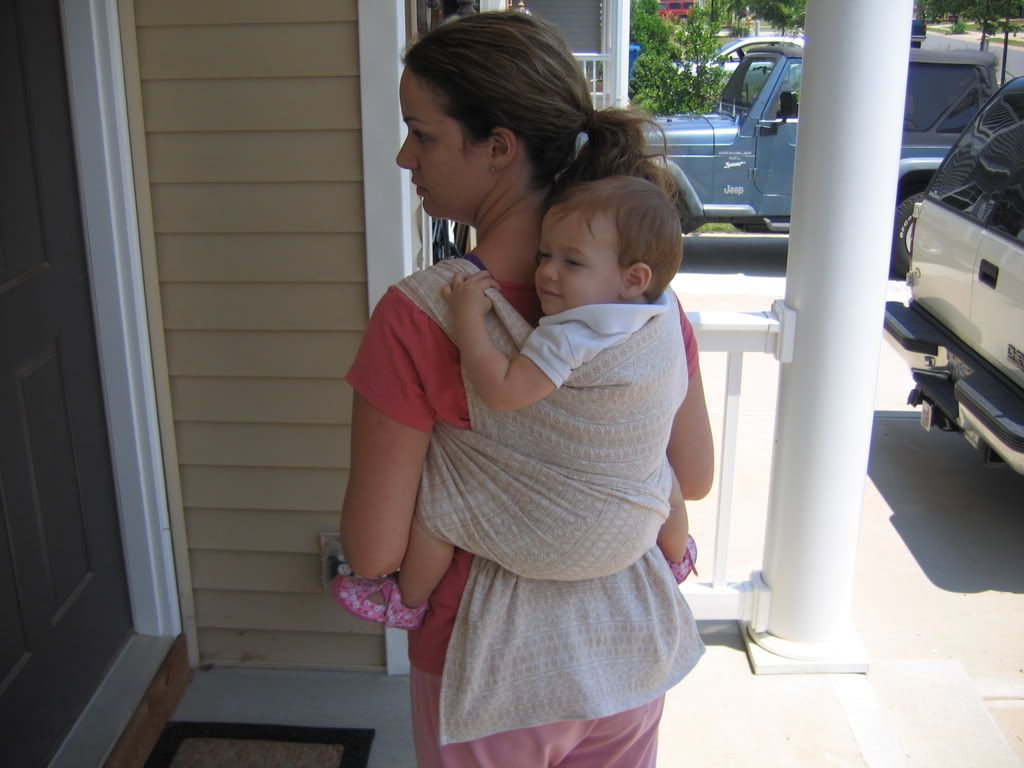
Grab your baby and GO!
No comments:
Post a Comment